Grilling is a cherished pastime for many, but like any culinary art, it comes with its responsibilities – chief among them is keeping your grill clean. Not only does regular grill maintenance ensure that your food tastes as intended, but it also extends the lifespan of your grill and keeps you safe. Learn how to keep your grill in top condition, step by step!
Why Clean Your Grill?
Health Reasons: A dirty grill can be a breeding ground for bacteria. Regular cleaning prevents the buildup of harmful germs that could contaminate your food.
Taste and Quality: Residue from previous grilling can cause off-flavors in your food. A clean grill ensures that your meals taste exactly as intended.
Safety Concerns: Grease and fat buildup can increase the risk of grill fires. Keeping your grill clean reduces this fire hazard.
Extended Grill Lifespan: Regular cleaning prevents rust and wear, ensuring your grill functions efficiently for years.
Preparation for Cleaning Your Grill
Before you start, make sure your grill is cool and safe to touch. For gas grills, disconnect the gas source. You’ll need a grill brush, cleaning solution (or a mix of vinegar and baking soda), gloves, and disposable rags or paper towels.
Cleaning Your Grill
Tools and Equipment
- Wrench or screwdriver to remove burners
- Box of baking soda
- Spray bottle filled with 50/50 vinegar-water mixture
- Plastic putty knife, used to scrape debris without damaging the grill’s finish.
- 2 buckets (One will be used as a temporary drip tray during cleaning, one will be filled with soapy water)
- Soft rags/towels
- Soft bristled scrub brush
- Venturi tube brush
- Dish soap
- Gloves
- Replacement drip pan(s)
- 2 microfiber towels
- Trash bag
- Grill brush
Cleaning Preparation
Ensure that the grill is completely turned off, and that gas is turned off to the grill as well. If you are using a propane tank, disconnect it and remove the tank before beginning cleaning.
Fill a sink, laundry tub, or other large basin with water and dish soap. You will be soaking some grill components in this while you continue cleaning.
Step by Step Cleaning Process
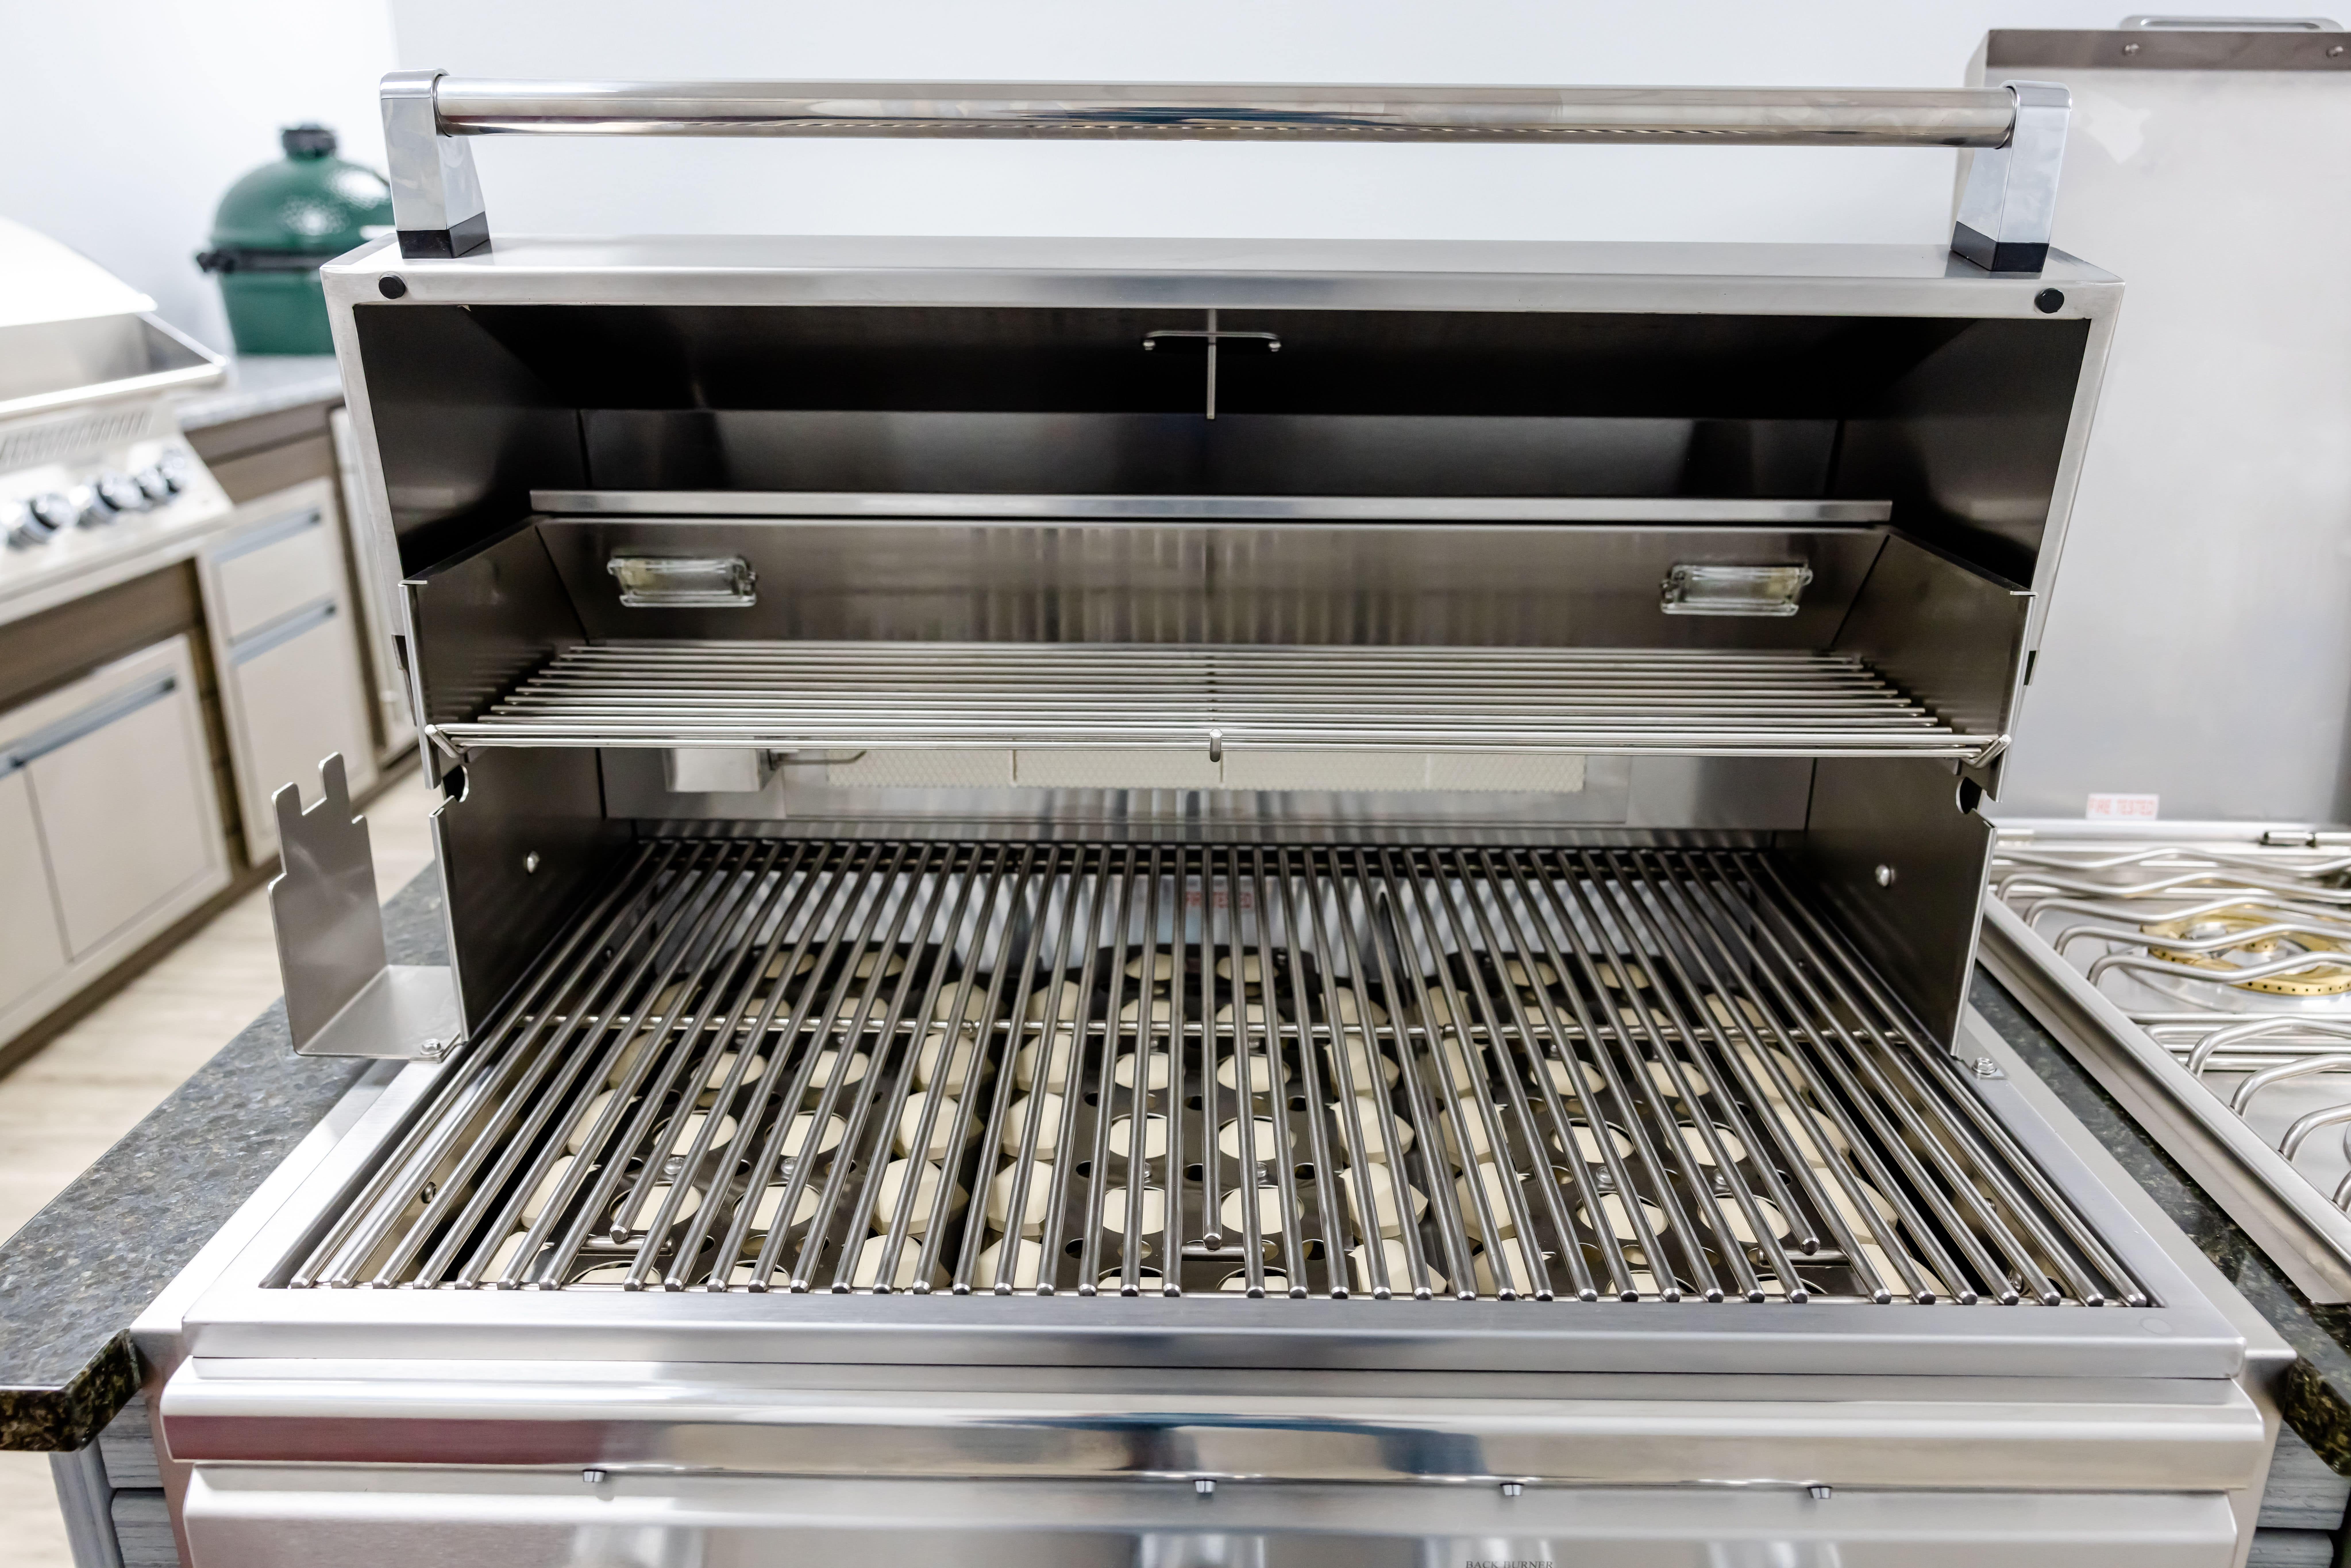
Step 1: Remove cooking grids and sear plates from the grill, and place them in the basin of soapy water to soak while you continue cleaning.
Step 2: Using your wrench or screwdriver (depending on the model of the grill), remove the burners. Keep the screws in a secure location, and set the removed burners aside.
Step 3: Sprinkle baking soda liberally throughout the interior of your grill, then spray it with your vinegar-water mixture. This combination will foam up, helping break down grease and debris that has built up inside the grill. Let it sit for 5 minutes.
Step 4: Once the baking soda and water-vinegar spray has had a few minutes to work, use the plastic putty knife to scrape grease and debris into the grill’s drip tray.
Step 5: Remove the grill’s drip tray and use the plastic putty knife to scrape remaining debris into a trash bag. Leave the tray out, and replace it with an empty bucket for now.
Step 6: Fill the other bucket with hot and soapy water. You want the hottest water you can stand to put your hands in.
Step 7: Grab the burners you set aside, and use a soft rag soaked in hot soapy water to wipe them down.
Step 8: Use the same hot soapy water along with a scrubbing brush to scrub down the interior basin of the grill. Allow excess water to run into the bucket you’ve temporarily replaced the drip tray with. Leave the grill open to dry.
Step 9: Retrieve your cooking grids and sear plates from the basin they have been soaking in. Use the plastic putty knife to scrape off any remaining debris, and wipe dry. Inspect the burners to verify that there are no blocked ports. If you see a blockage, you can use either a burner maintenance kit or a paperclip to dislodge. Use the Venturi brush to clean the burner tubing.
Step 10: Begin reassembling the grill, starting with the burners. Remove the debris bucket, and reinstall the drip tray.
Step 11: Clean the soapy water bucket, and refill with fresh hot soapy water. Use this along with your microfiber cloth to wipe down the grill’s exterior. Follow the “grain” in the steel to minimize the risk of swirls or scratches. Once the exterior is cleaned of any grease or dirt, use a separate microfiber towel to apply a stainless steel cleaner such as Sheila Shine.
Step 12: Once the grill has been entirely reassembled and the exterior has been cleaned to your satisfaction, fire up the grill and let it burn for 30-45 minutes. This will ensure that everything is thoroughly dried, and any soap/water residue is burned off before cooking.
At this point, you can clean up your materials and give yourself a pat on the back. Your grill is thoroughly cleaned and ready to go!
If you’re unsure or uncomfortable doing a deep clean, consider hiring a professional. This can be particularly helpful for extensive maintenance, or getting a “fresh start” on a grill that has been neglected.
Regular grill cleaning is essential for health, safety, taste, and longevity. By following these steps, you’ll ensure that your grill remains a cherished part of your culinary arsenal for years to come.


